Water Damage Repair - Home Services Local

Water Damage Restoration | Leaks Floods Mold Guide

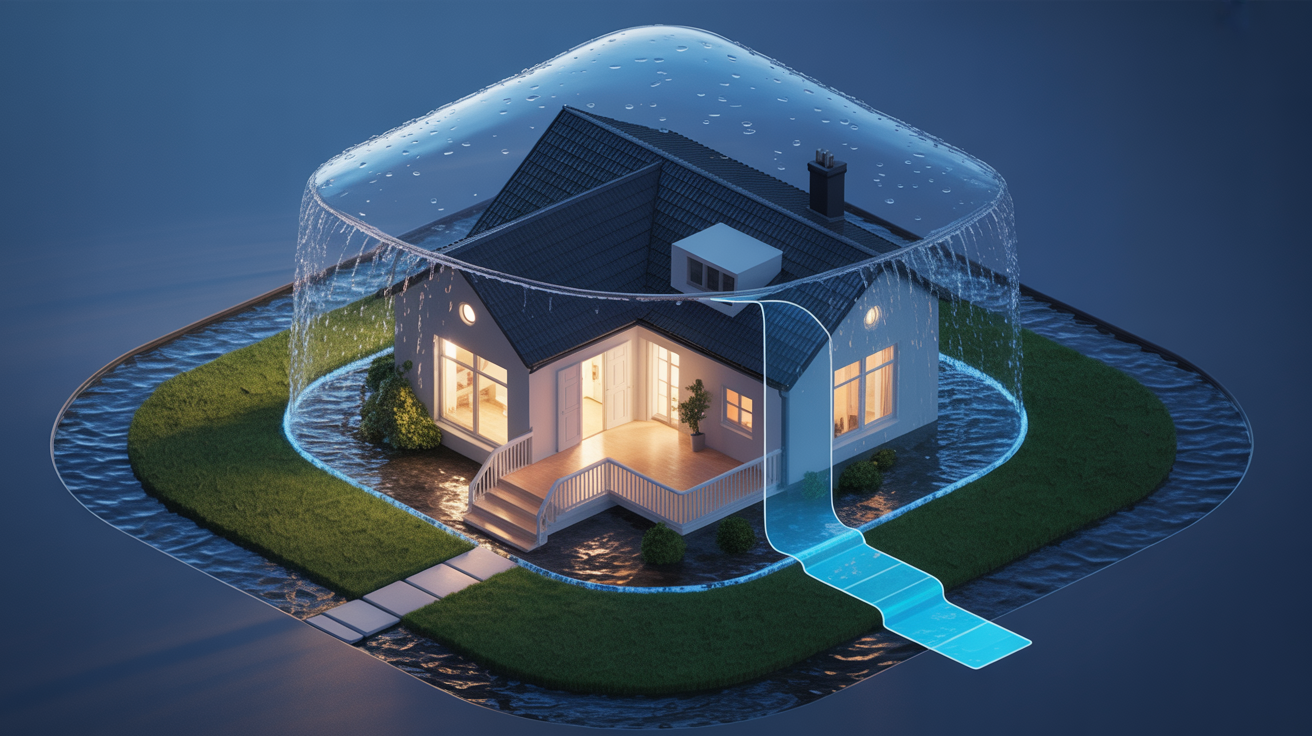
Introduction: Understanding the Importance of Water Damage Restoration

Comparison of water-damaged vs. restored home, emphasizing the importance of timely water damage restoration.

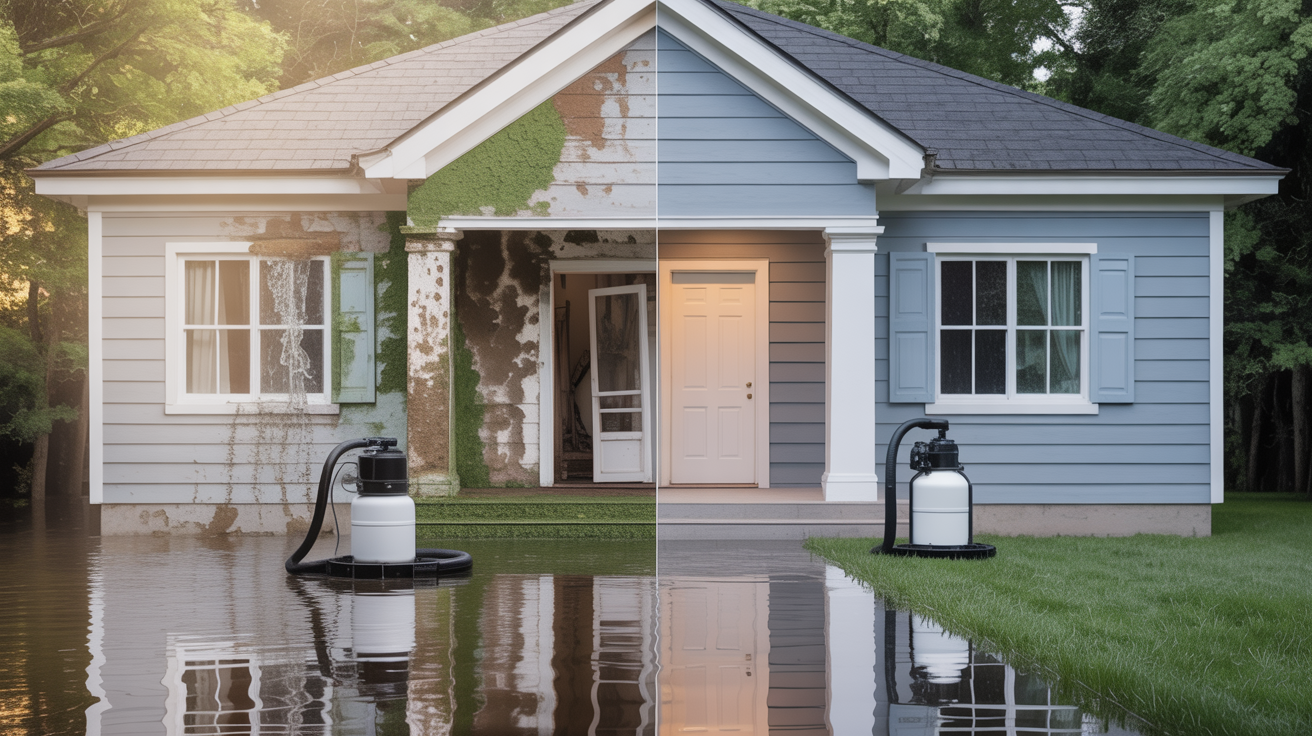
Water damage is a common issue that homeowners face, often leading to significant structural damage if not addressed promptly. Water Damage Restoration is the process of restoring a property to its pre-damage condition. Understanding this process is crucial for protecting your home and ensuring the health and safety of its occupants.

What is Water Damage Restoration?

Time-lapse of house model deteriorating from water, then being restored, illustrating the water damage restoration process.

Defining Water Damage Restoration

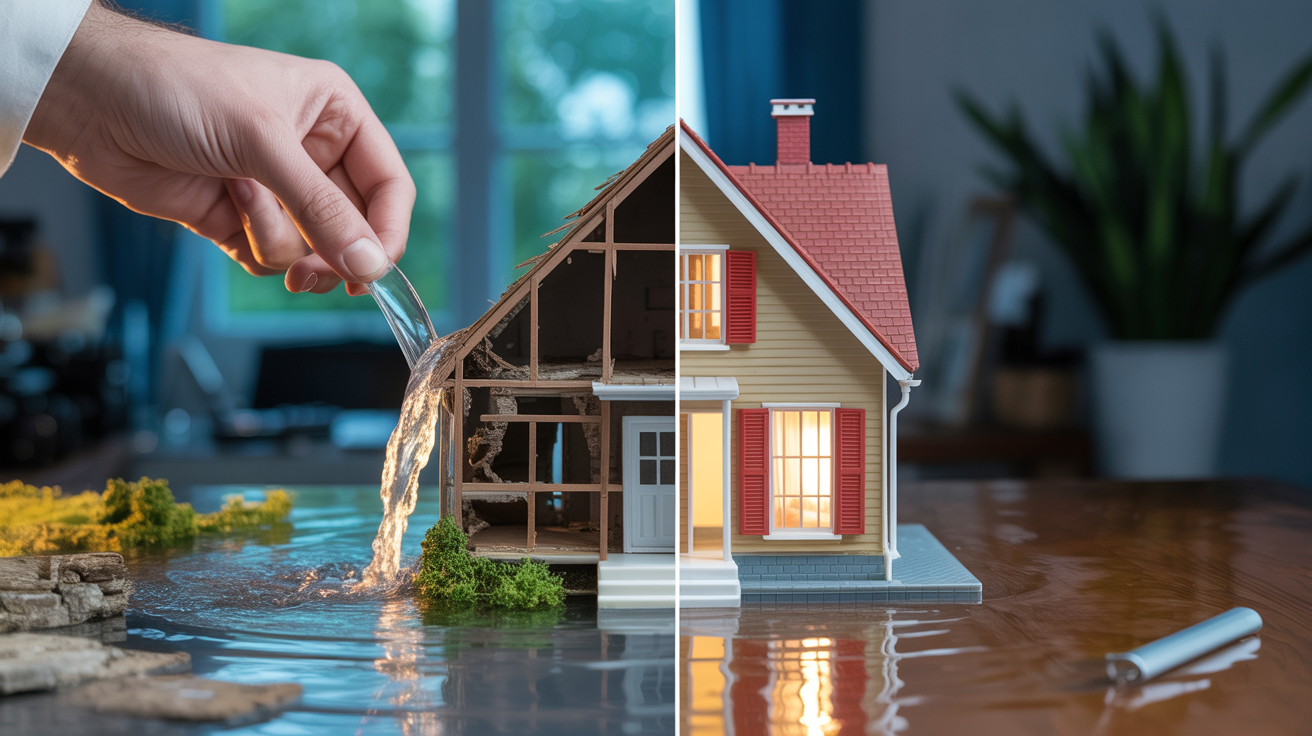
Water damage restoration involves the complete process of water cleanup from beginning to end. This means fixing the water source, removing water, drying out the affected areas, and performing any necessary repairs.

Why Timely Restoration is Crucial

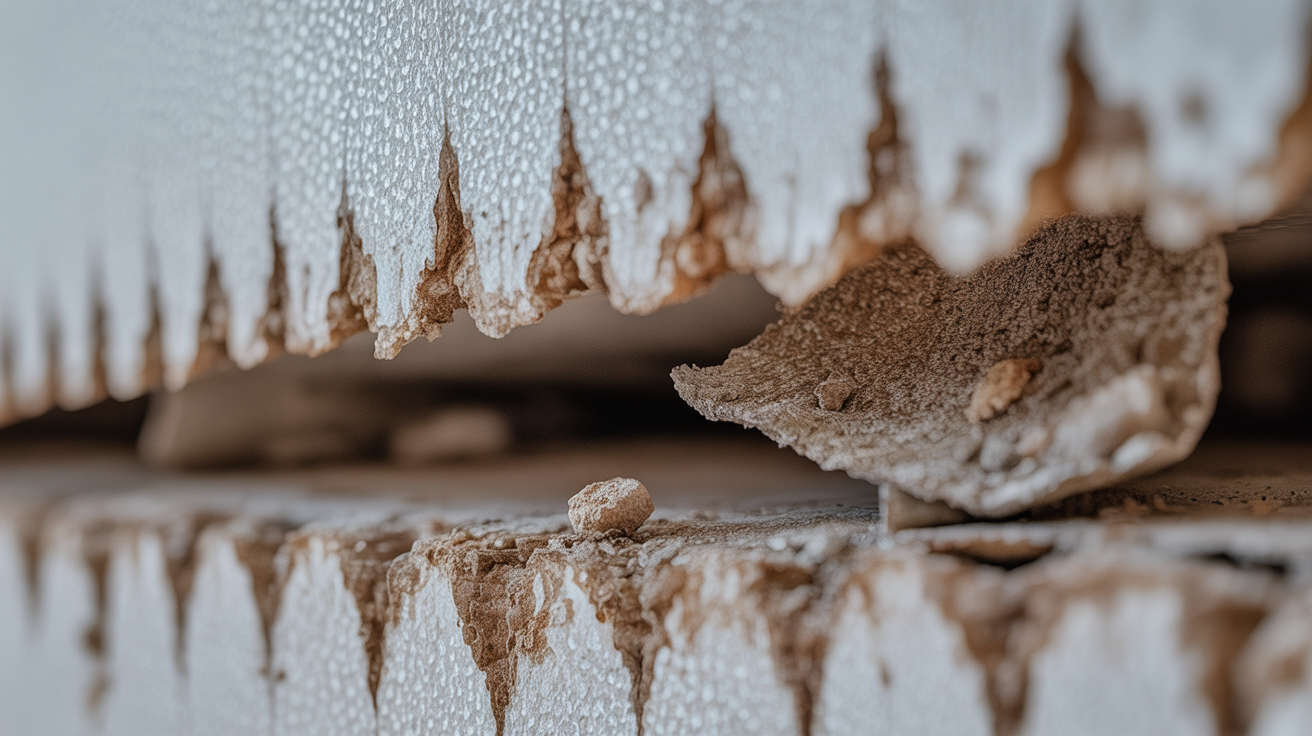
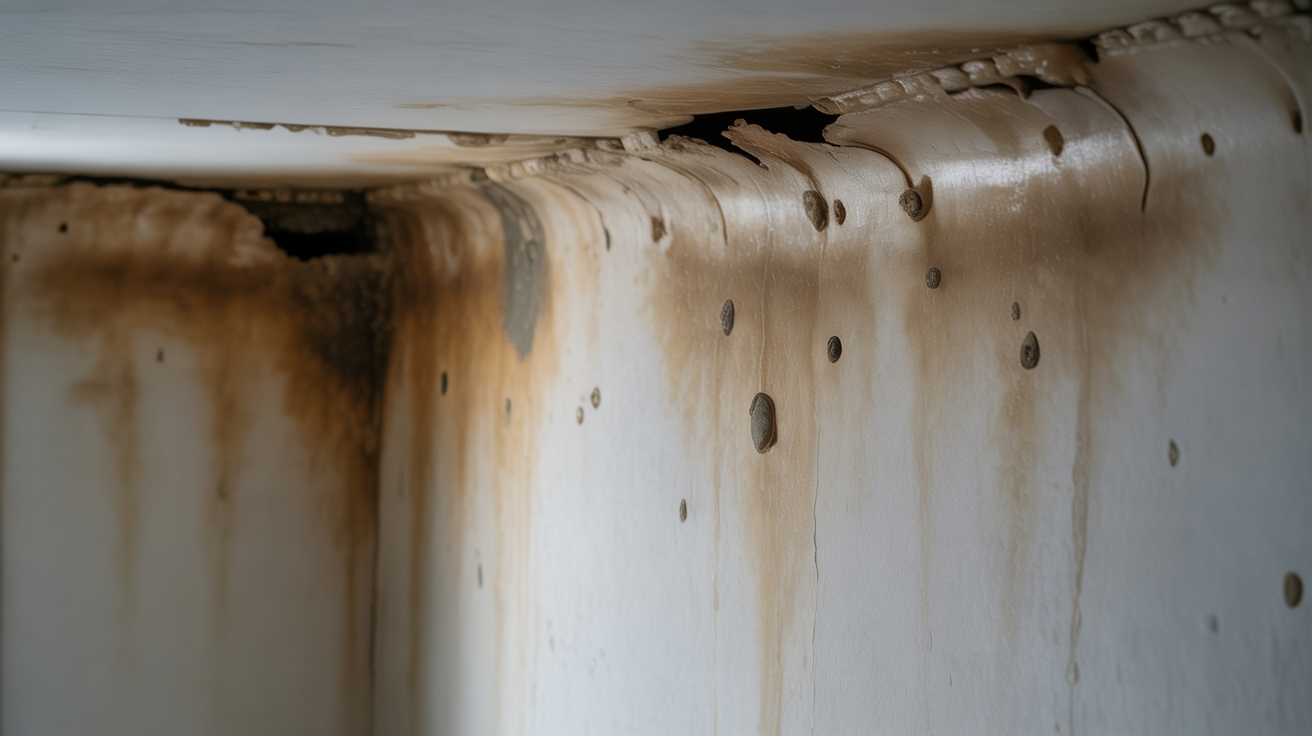
Delaying restoration can lead to more serious problems, such as mold growth and structural damage. Quick action helps prevent further issues and reduces restoration costs.

Common Causes of Water Damage
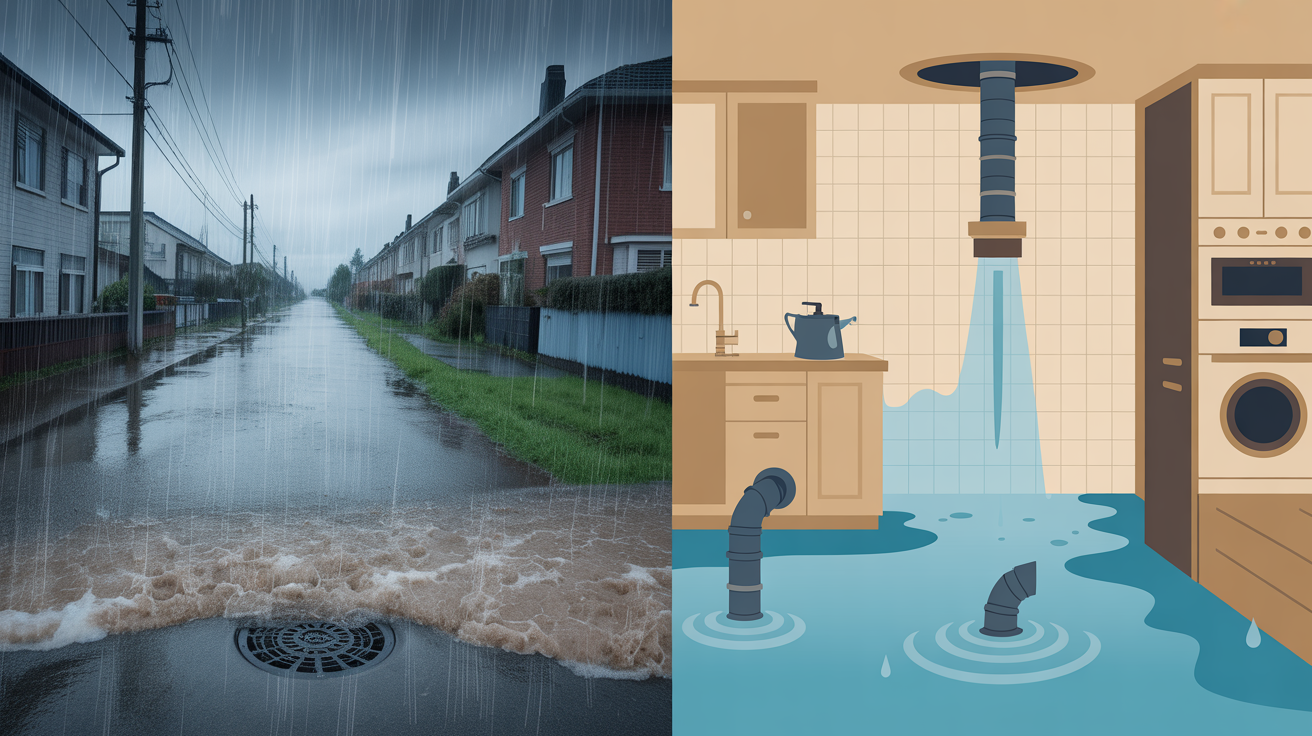
Split image contrasting natural floods and man-made leaks as common causes of water damage in homes.

Natural Causes

Floods, heavy rains, and storms are the most common natural causes of water damage. These events can overwhelm drainage systems and lead to significant water intrusion into homes.
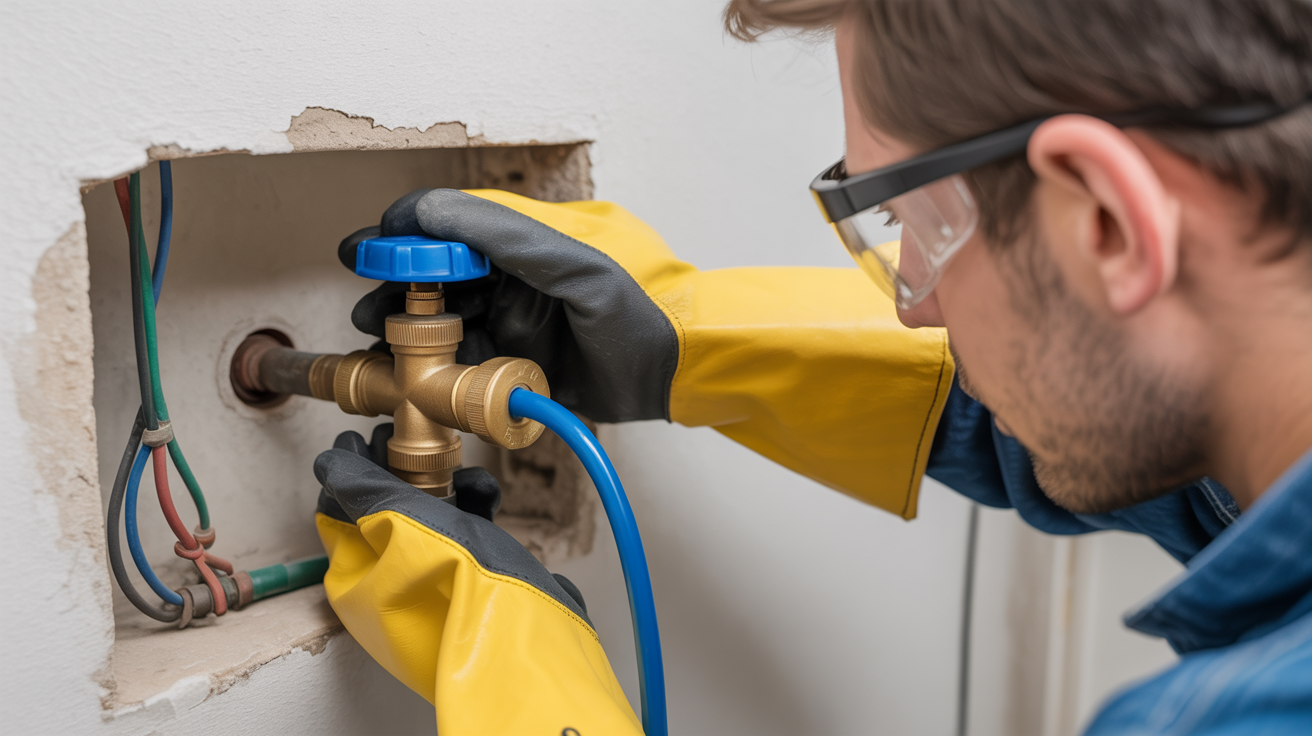
Man-Made Causes

Leaking pipes, faulty appliances, and blocked drains are typical man-made causes of water damage. Regular maintenance can help prevent these issues from escalating.

Steps Involved in Water Damage Restoration

Cross-section illustrating steps in water damage restoration, from water removal to final repairs.

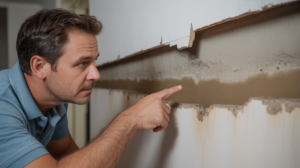
Step 1: Assessment and Inspection Prior To Water Damage Restoration

Professionals assess the extent of the damage and identify the source of the water. This step is crucial for creating an effective restoration plan.

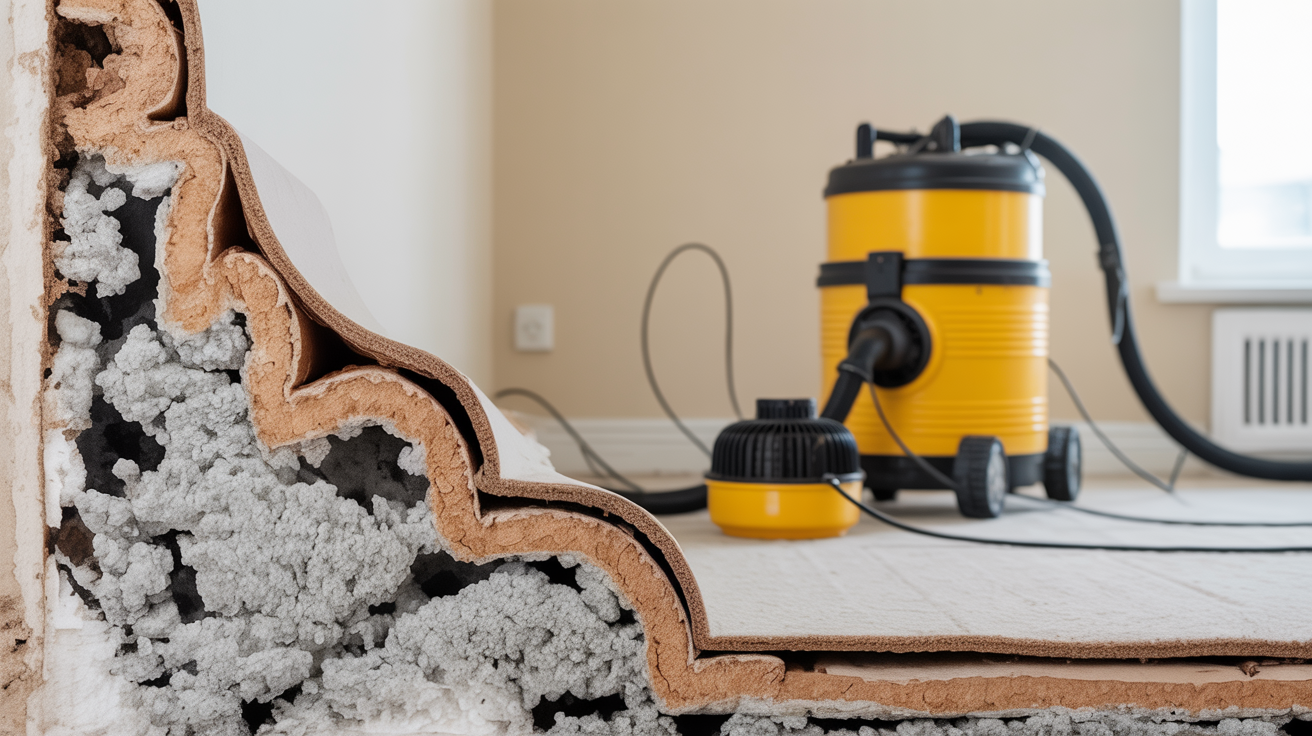
Step 2: Water Removal/Extraction

Using pumps and vacuums, professionals remove standing water from the affected areas to minimize further damage.

Step 3: Drying and Dehumidification

After water removal, the drying process begins. Dehumidifiers and air movers are used to dry out walls, floors, and other structures.

Step 4: Cleaning and Sanitizing

Cleaning involves removing contaminants and sanitizing the area to ensure a safe environment. It also involves odor removal and deodorization.

Step 5: Water Damage Restoration and Repairs

The final step involves restoring your home to its pre-damage condition. This may include minor repairs, such as replacing drywall and installing new carpet, or major repairs like reconstructing entire rooms.

Preventing Future Water Damage

Home protected by a shield, showcasing water leak detection systems for preventing future water damage.

Regular Inspections and Maintenance to Detect Water Damage

Regularly inspect your home for signs of leaks or water damage. Early detection can save you from costly repairs.

Investing in Water Leak Detection Systems

Consider installing water leak detection systems. These systems alert you to potential leaks before they become significant issues, providing peace of mind and protection for your home.

Conclusion: Final Thoughts on Protecting Your Home from Water Damage

Family secure in a well-protected home, illustrating the importance of water damage restoration and prevention.

Water damage restoration is essential for maintaining the integrity, safety, and long-term value of your home. When left unaddressed, even minor water issues can escalate into serious structural damage, mold growth, and costly repairs.

By understanding the restoration process and acting quickly when water intrusion occurs, homeowners can significantly reduce the extent of damage.

Equally important is implementing preventive measures such as regular property inspections, proper drainage maintenance, and timely repairs to plumbing or roofing issues.

Proactive care, combined with professional water damage restoration services when needed, helps ensure your home remains dry, healthy, and well-protected against future water-related problems.

FAQs

What is the first step in water damage restoration?

The first step in water damage restoration is assessment and inspection to determine the extent of the damage.

Can water damage lead to mold growth?

Yes, water damage can lead to mold growth if not addressed promptly, as mold thrives in damp environments.

How can I prevent water damage in my home?

Regular inspections, maintenance, and investing in water leak detection systems can help prevent water damage.

Water damage on drywall is one of the most common and destructive problems homeowners face. Imagine walking into your living room and noticing a dark stain spreading across your drywall—or pressing on the wall and realizing it feels soft and spongy. These subtle warning signs may seem harmless, 

In fact, one in fifty homeowners files a water damage insurance claim each year, making drywall water damage far more widespread than many realize. Left untreated, even minor moisture intrusion can lead to serious consequences such as structural weakening, mold growth, and expensive repairs.

Water can seep behind paint or wallpaper and silently damage drywall over time. That small stain is rarely just cosmetic—it’s often a warning sign of a much larger issue hiding beneath the surface.


What Causes Water Damage on Drywall?

Close-up of damaged drywall, showing porous texture and water damage.

Understanding the cause of water damaged drywall is critical before attempting repairs. Drywall is porous, meaning it absorbs moisture quickly and deteriorates when exposed to water.

Common Sources of Drywall Water Damage

  • Leaking or burst plumbing pipes
  • Roof leaks and damaged shingles
  • Window or door seal failures
  • Flooding from storms or heavy rain
  • High indoor humidity and condensation
  • HVAC or appliance leaks

If moisture exposure continues unchecked, drywall can lose its structural integrity and become a breeding ground for mold and mildew.


Signs of Water-Damaged Drywall You Should Never Ignore

Water-damaged drywall with stains, bubbles, mold, and sagging.

Recognizing drywall water damage early can save thousands in repairs and prevent health hazards.

Visible and Hidden Warning Signs

  • Yellow, brown, or dark water stains
  • Bubbling, peeling, or cracking paint
  • Sagging, bulging, or warped drywall
  • Soft or crumbly wall surfaces
  • Persistent musty or damp odors
  • Mold spots or discoloration

If you notice any of these symptoms, immediate action is essential.


Why You Must Fix the Water Source Before Repairing Drywall

One of the biggest mistakes homeowners make is repairing drywall without stopping the water intrusion. Cosmetic fixes alone will not solve the problem.

Identify the Root Cause

Homeowner inspecting water-damaged drywall. Important to fix the water source.Inspect the affected area carefully to determine whether the source is:

  • A plumbing leak
  • Roof or siding damage
  • Poor insulation causing condensation
  • Foundation or exterior wall seepage

Permanent drywall repair is only possible once the moisture source is fully resolved.


Tools and Materials Needed for Water-Damaged Drywall Repair

Proper preparation makes drywall repair faster and more effective.

Essential Drywall Repair ToolsOrganized tools and materials for effective drywall repair. Home improvement.

  • Utility knife or drywall saw
  • Replacement drywall sheets
  • Tape measure
  • Drywall screws and screw gun
  • Joint compound (drywall mud)
  • Drywall tape
  • Putty knife
  • Sandpaper or sanding sponge
  • Stain-blocking primer
  • Matching interior paint

Optional but Helpful Items

  • Stud finder
  • Drop cloths
  • Safety gloves, goggles, and dust mask

Step-by-Step Guide to Repairing Water-Damaged Drywall

Person turning off water valve before repairing water-damaged drywall.

Step 1: Stop the Water Damage Immediately

Shut off leaking pipes, repair roof damage, or eliminate the moisture source before continuing.

Safety Tip: Turn off electricity to the affected area and wear protective gear before starting repairs.


Step 2: Assess the Severity of Drywall Damage

Determine whether the damage is:

  • Surface-level (stains, bubbling paint), or
  • Structural (soft, sagging, or crumbling drywall)

Severe drywall water damage usually requires removal and replacement.


Step 3: Dry the Wall Thoroughly

Use fans, dehumidifiers, and ventilation to dry the wall completely. Drying typically takes 24–72 hours.

Only proceed once:

  • The drywall feels firm and dry
  • No dampness remains
  • Odors are eliminated

Step 4: Remove Damaged Drywall Sections

Cut out damaged drywall 2–12 inches beyond visible damage to remove hidden moisture and prevent mold.

Dispose of drywall and insulation according to local regulations, especially if mold is present.


Step 5: Check for Mold and Treat Affected Areas

Inspect the exposed wall cavity for mold growth.

  • Small mold areas (under 10 sq. ft.) can be cleaned with detergent or mildew remover
  • Large or recurring mold problems require professional remediation

Apply a mold-resistant or antimicrobial primer to framing and surfaces after cleaning.


Step 6: Install New Drywall

Measure and cut replacement drywall to fit snugly. Secure it to studs using drywall screws, ensuring flush alignment with surrounding walls.


Step 7: Tape, Mud, and Sand for a Smooth Finish

  • Apply drywall tape over seams
  • Spread joint compound in thin layers
  • Allow drying between coats
  • Sand lightly for a smooth, seamless surface

Repeat as needed until the wall is level.


Step 8: Prime and Paint the Repaired Area

Use a high-quality stain-blocking primer to prevent water stains from bleeding through the paint.

Finish with matching paint, feathering edges for a uniform appearance. For large repairs, repainting the entire wall provides the best results.


How to Prevent Water Damage on Drywall in the Future

Prevention is the most cost-effective solution.

Drywall Water Damage Prevention TipsPreventative maintenance measures to avoid water damage. Home maintenance.

  • Inspect plumbing and roofs regularly
  • Seal windows, doors, and exterior gaps
  • Control indoor humidity with ventilation
  • Use moisture-resistant drywall in high-risk areas
  • Repair leaks as soon as they appear

Routine maintenance significantly reduces the risk of future damage.


Seeking guidance for home repair questions. Home improvement.
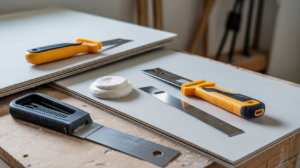
DIY vs. Professional Water Damage Repair: Know When to Call an Expert

Most minor drywall water damage can be repaired by homeowners, but some situations require professional help.

DIY Repairs Are Suitable For:

  • Small leaks or stains
  • Limited drywall replacement
  • Cosmetic wall repairs

Call a Professional If:

  • Electrical wiring is affected
  • Structural components are compromised
  • Mold growth is extensive or toxic
  • Flooding or sewage water is involved

Professional water damage restoration ensures your home is safe, dry, and fully restored.


Final Thoughts: Protect Your Home from Water Damage

Water damage doesn’t have to be overwhelming. When addressed quickly and correctly, water-damaged drywall repair is entirely manageable.

Early detection, thorough drying, proper removal, and careful repairs can prevent mold growth, structural damage, and costly future repairs. Whether you handle small fixes yourself or hire a professional, prompt action protects both your home and your peace of mind.

Have questions about drywall repair, mold prevention, or choosing the right contractor? Leave a comment below—we’re here to help. Explore our other home maintenance guides for expert tips and trusted solutions to keep your home safe and dry year-round.

Project Inputs


0% complete
0 of 20 steps completed

Planning & Scoping


  1. Tips
    Articulate success criteria, required rooms or areas, and must-haves vs. nice-to-haves. Create a rough square footage baseline if remodeling (e.g., total sq ft, key rooms). Budget context: plan for 5–10% contingency and consider region-specific costs.

  2. Tips
    Identify core trades (plumbing, electrical, HVAC, carpentry, insulation, finishes). Use a rough count to gauge permits, scheduling, and coordination needs. Typical trade shares: Plumbing 5–10%, Electrical 5–10%, HVAC 10–20%, Kitchen 15–30%, Bathroom 10–25%.

  3. Tips
    Clarify what is included (interior work, exterior work, structural changes) and what lies outside scope to prevent scope creep.

  4. Tips
    Assess access for material deliveries, parking, dust control, contractor safety plan, and temporary utilities (power, water) if needed.

Vetting & Licensing


  1. Tips
    Confirm current licenses with state/local boards for trades like plumbing, electrical, HVAC. Check expiration and status; ensure license matches scope of work.

  2. Tips
    Request general liability and workers’ compensation certificates; require additional insured language where applicable. Confirm subcontractors’ coverage as well.

  3. Tips
    Identify which permits are needed (structural, electrical, plumbing, mechanical). Assign who applies, estimated processing times, and inspection windows.

Design & Engineering


  1. Tips
    For complex layouts, architectural input helps ensure code compliance and spatial efficiency. Design fees range ~0.50–2.00 per sq ft for remodel plans.

  2. Tips
    Consult on load-bearing walls or major structural changes; typical consult costs range $350–$900.

  3. Tips
    Ensure plans reflect intended scope, meet local codes, and are permit-ready; involve trades in review where needed.

Quoting & Budget


  1. Tips
    Request breakdowns by trade; ensure the quotes align with the scope; consider 25–40% labor share in remodeling budgets as guidance.

  2. Tips
    Create a line-item budget by trade; allocate 5–10% contingency for unforeseen conditions.

  3. Tips
    Reserve 5–10% of total budget for unforeseen conditions; define what triggers a contingency draw.

  4. Tips
    Define payment milestones tied to inspections, approvals, and completed work; include retainage terms where applicable.

Scheduling & Logistics


  1. Tips
    Plan the logical order of trades to minimize rework and delays; integrate lead times for long-lead items.

  2. Tips
    Coordinate schedules with all trades; arrange parking, dust barriers, and temporary utilities if needed.

  3. Tips
    Order long-lead items early and confirm substitutions with vendors to avoid delays.

  4. Tips
    Lock in inspection windows and ensure inspections line up with the scheduled completion milestones.

Change Orders & Closeout


  1. Tips
    Document change requests, cost/time impacts, and approvals; maintain an up-to-date change log.

  2. Tips
    Collect all manufacturer warranties, as-built drawings, and maintenance guides; provide homeowners with a maintenance plan.