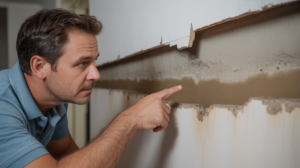
Water damage on drywall is one of the most common and destructive problems homeowners face. Imagine walking into your living room and noticing a dark stain spreading across your drywall—or pressing on the wall and realizing it feels soft and spongy. These subtle warning signs may seem harmless,
In fact, one in fifty homeowners files a water damage insurance claim each year, making drywall water damage far more widespread than many realize. Left untreated, even minor moisture intrusion can lead to serious consequences such as structural weakening, mold growth, and expensive repairs.
Water can seep behind paint or wallpaper and silently damage drywall over time. That small stain is rarely just cosmetic—it’s often a warning sign of a much larger issue hiding beneath the surface.
What Causes Water Damage on Drywall?
Understanding the cause of water damaged drywall is critical before attempting repairs. Drywall is porous, meaning it absorbs moisture quickly and deteriorates when exposed to water.
Common Sources of Drywall Water Damage
- Leaking or burst plumbing pipes
- Roof leaks and damaged shingles
- Window or door seal failures
- Flooding from storms or heavy rain
- High indoor humidity and condensation
- HVAC or appliance leaks
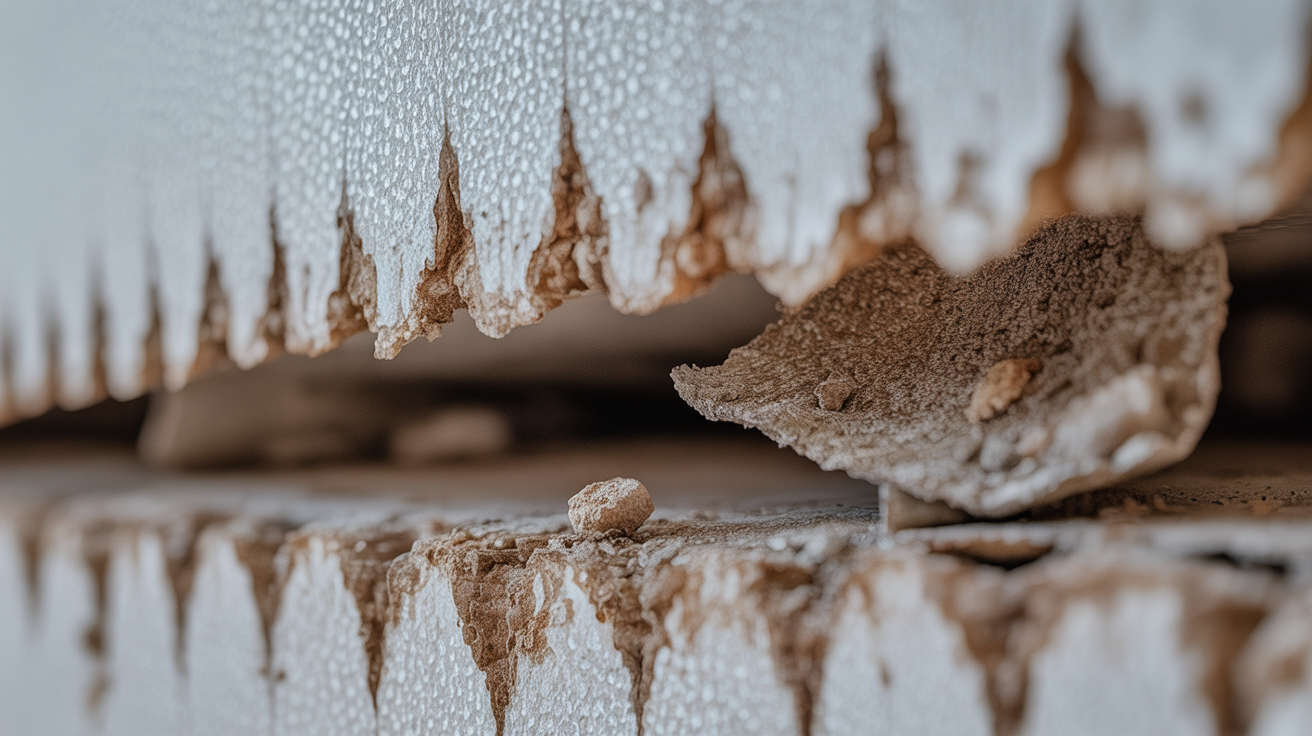
If moisture exposure continues unchecked, drywall can lose its structural integrity and become a breeding ground for mold and mildew.
Signs of Water-Damaged Drywall You Should Never Ignore
Recognizing drywall water damage early can save thousands in repairs and prevent health hazards.
Visible and Hidden Warning Signs
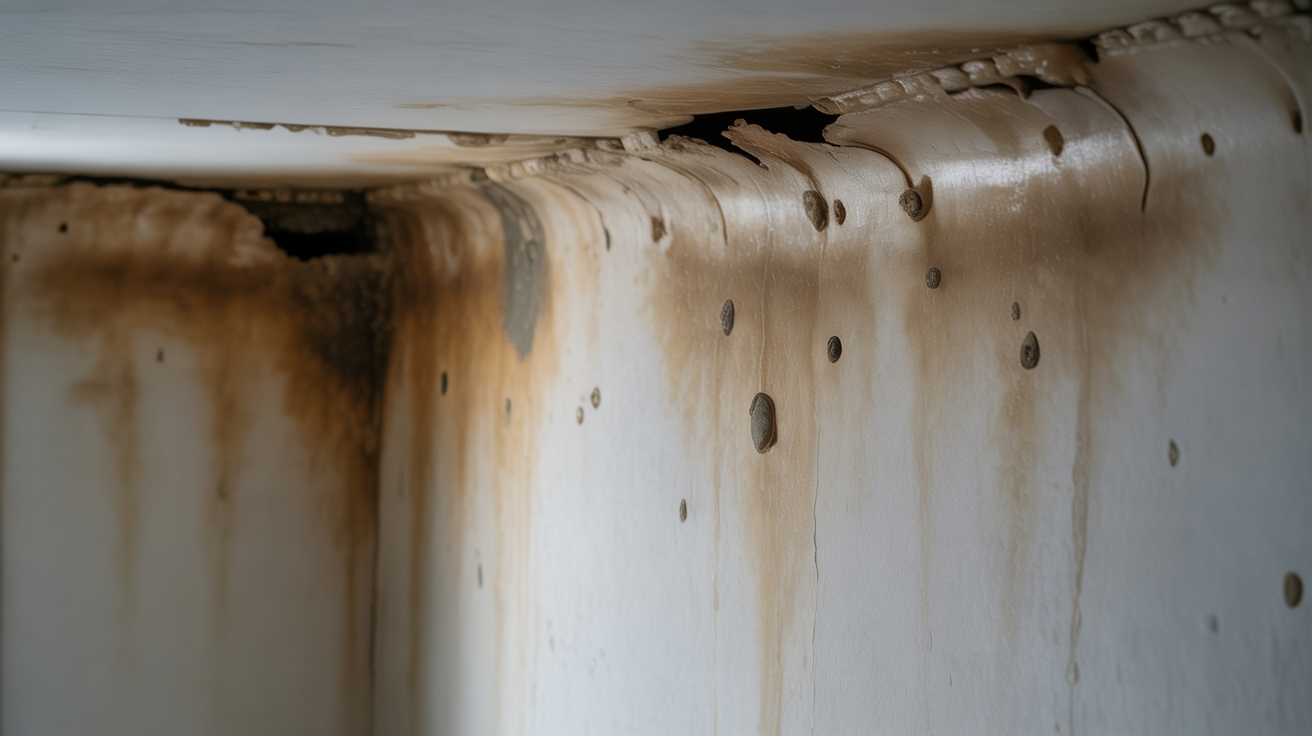
- Yellow, brown, or dark water stains
- Bubbling, peeling, or cracking paint
- Sagging, bulging, or warped drywall
- Soft or crumbly wall surfaces
- Persistent musty or damp odors
- Mold spots or discoloration
If you notice any of these symptoms, immediate action is essential.
Why You Must Fix the Water Source Before Repairing Drywall
One of the biggest mistakes homeowners make is repairing drywall without stopping the water intrusion. Cosmetic fixes alone will not solve the problem.
Identify the Root Cause
 Inspect the affected area carefully to determine whether the source is:
- A plumbing leak
- Roof or siding damage
- Poor insulation causing condensation
- Foundation or exterior wall seepage
Permanent drywall repair is only possible once the moisture source is fully resolved.
Tools and Materials Needed for Water-Damaged Drywall Repair
Proper preparation makes drywall repair faster and more effective.
Essential Drywall Repair Tools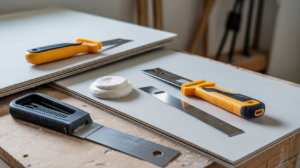
- Utility knife or drywall saw
- Replacement drywall sheets
- Tape measure
- Drywall screws and screw gun
- Joint compound (drywall mud)
- Drywall tape
- Putty knife
- Sandpaper or sanding sponge
- Stain-blocking primer
- Matching interior paint
Optional but Helpful Items
- Stud finder
- Drop cloths
- Safety gloves, goggles, and dust mask
Step-by-Step Guide to Repairing Water-Damaged Drywall
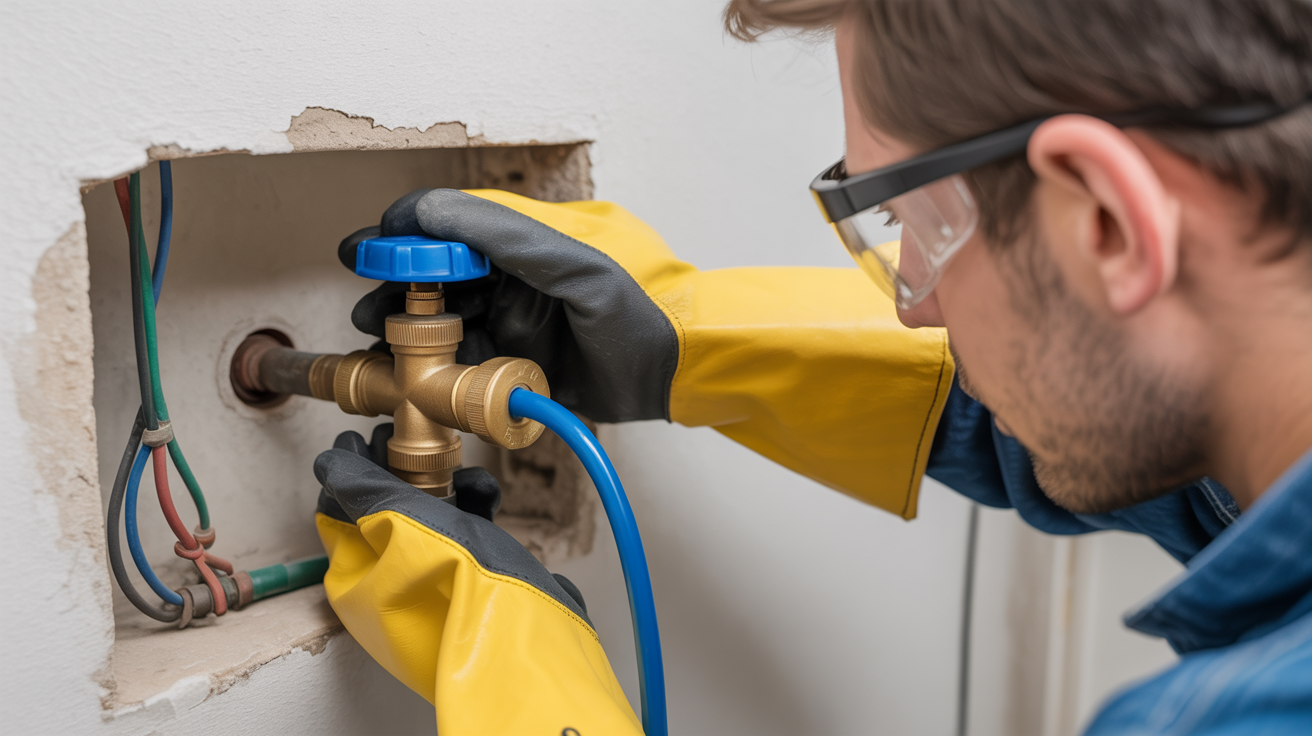
Step 1: Stop the Water Damage Immediately
Shut off leaking pipes, repair roof damage, or eliminate the moisture source before continuing.
Safety Tip: Turn off electricity to the affected area and wear protective gear before starting repairs.
Step 2: Assess the Severity of Drywall Damage
Determine whether the damage is:
- Surface-level (stains, bubbling paint), or
- Structural (soft, sagging, or crumbling drywall)
Severe drywall water damage usually requires removal and replacement.
Step 3: Dry the Wall Thoroughly
Use fans, dehumidifiers, and ventilation to dry the wall completely. Drying typically takes 24–72 hours.
Only proceed once:
- The drywall feels firm and dry
- No dampness remains
- Odors are eliminated
Step 4: Remove Damaged Drywall Sections
Cut out damaged drywall 2–12 inches beyond visible damage to remove hidden moisture and prevent mold.
Dispose of drywall and insulation according to local regulations, especially if mold is present.
Step 5: Check for Mold and Treat Affected Areas
Inspect the exposed wall cavity for mold growth.
- Small mold areas (under 10 sq. ft.) can be cleaned with detergent or mildew remover
- Large or recurring mold problems require professional remediation
Apply a mold-resistant or antimicrobial primer to framing and surfaces after cleaning.
Step 6: Install New Drywall
Measure and cut replacement drywall to fit snugly. Secure it to studs using drywall screws, ensuring flush alignment with surrounding walls.
Step 7: Tape, Mud, and Sand for a Smooth Finish
- Apply drywall tape over seams
- Spread joint compound in thin layers
- Allow drying between coats
- Sand lightly for a smooth, seamless surface
Repeat as needed until the wall is level.
Step 8: Prime and Paint the Repaired Area
Use a high-quality stain-blocking primer to prevent water stains from bleeding through the paint.
Finish with matching paint, feathering edges for a uniform appearance. For large repairs, repainting the entire wall provides the best results.
How to Prevent Water Damage on Drywall in the Future
Prevention is the most cost-effective solution.
Drywall Water Damage Prevention Tips
- Inspect plumbing and roofs regularly
- Seal windows, doors, and exterior gaps
- Control indoor humidity with ventilation
- Use moisture-resistant drywall in high-risk areas
- Repair leaks as soon as they appear
Routine maintenance significantly reduces the risk of future damage.
 DIY vs. Professional Water Damage Repair: Know When to Call an Expert
Most minor drywall water damage can be repaired by homeowners, but some situations require professional help.
DIY Repairs Are Suitable For:
- Small leaks or stains
- Limited drywall replacement
- Cosmetic wall repairs
Call a Professional If:
- Electrical wiring is affected
- Structural components are compromised
- Mold growth is extensive or toxic
- Flooding or sewage water is involved
Professional water damage restoration ensures your home is safe, dry, and fully restored.
Final Thoughts: Protect Your Home from Water Damage
Water damage doesn’t have to be overwhelming. When addressed quickly and correctly, water-damaged drywall repair is entirely manageable.
Early detection, thorough drying, proper removal, and careful repairs can prevent mold growth, structural damage, and costly future repairs. Whether you handle small fixes yourself or hire a professional, prompt action protects both your home and your peace of mind.
Have questions about drywall repair, mold prevention, or choosing the right contractor? Leave a comment below—we’re here to help. Explore our other home maintenance guides for expert tips and trusted solutions to keep your home safe and dry year-round.